You will need:
1 Santa face
cabochon
2g Size 11 seed
beads, red
5g Size 11 seed
beads, cream
2g Size 11 seed
beads, gold
3 ½ x 3” Piece
of Lacy’s Stiff Stuff or similar
Small piece of white felt
3 ½ x 3” Piece of stiff card
3 ½ x 3” Piece of Ultrasuede or similar
8” Piece of red satin ribbon or similar
Beading thread
You will also need a beading
needle, glue and a pair of scissors,
 |
| Template |
Trace out the outline of the ornament onto the stiff
stuff.
Glue the face cabochon into place and set aside to
dry.
Trace out the fur shapes onto white felt. Cut out 2 pieces of each shape plus an extra
piece of just the right side of the collar fur as shown.
Glue the first layer of felt pieces down onto the
backing, trying to avoid the edges. Put
the other felt pieces to one side for later.
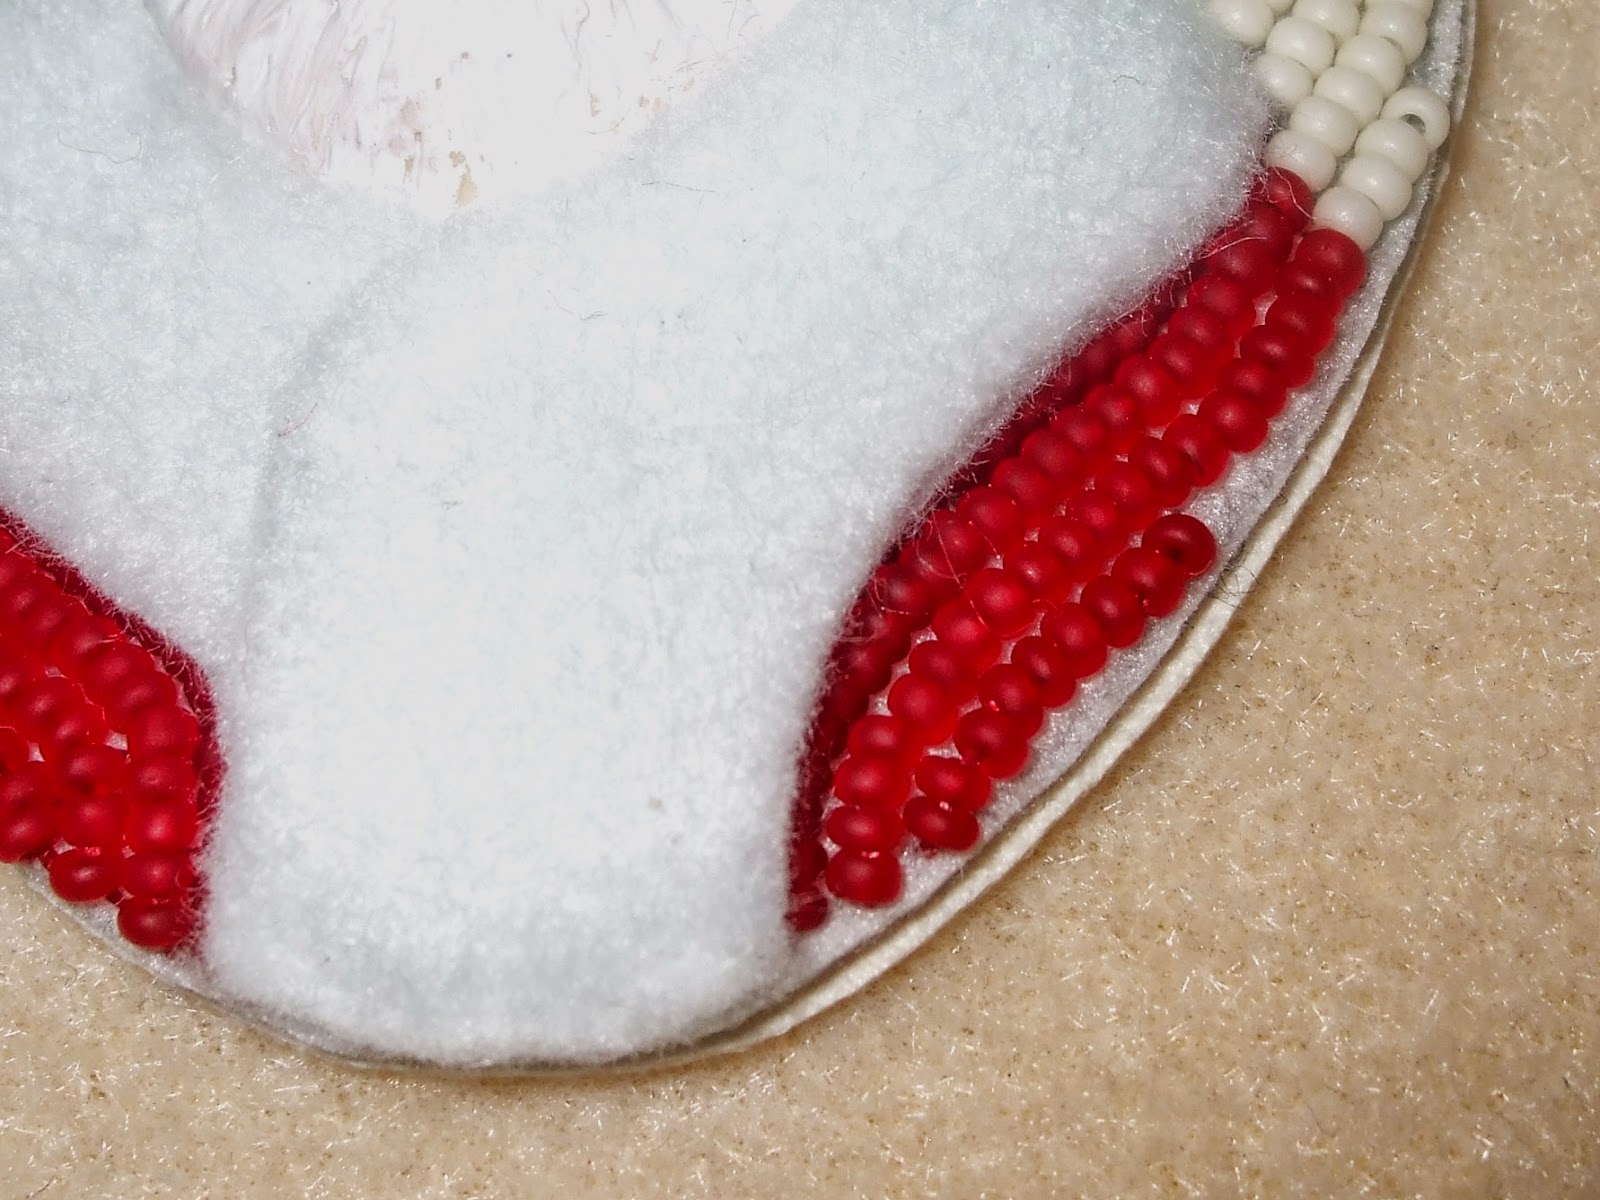
Fill in the red areas of Santa’s suit and hat with red
seed beads.
Glue the remaining pieces of felt on top of the first
layer, putting the extra piece on last.
Stitch down the edges of the felt that aren’t next to the beads with
tiny stitches so that they aren’t noticeable.
Fill in the background with the cream beads.
Trim the backing close to the edge of the beadwork and
make sure all the threads are secure.
Place the beadwork onto the card and draw around
it. Cut out the shape 1-2mm inside the
line.
Glue the card to the back of the beadwork and leave to
dry.
Cover the back of the card with glue, taking care not
to get any on the edges of the backing, and stick it onto the ultrasuede. Trim the edges close to the beadwork.
Finish off the edge by brick stitching the gold beads
all the way around the oval.
Add a small loop of gold seed beads to the top centre
of the oval and finish off the thread.
Tie the red ribbon through the loop of beads.
If you do make this for your tree please post a photo of it to my Facebook page so that I can see.


No comments:
Post a Comment